So, you're thinking about diving into the world of raising baby chicks, huh? Well, let me tell you, it's not as easy as just throwing some food in a box and hoping for the best. A chick brooder is the heart and soul of your little chick-rearing operation, and getting it right is absolutely crucial. Without a proper brooder setup, your baby chicks could face all kinds of issues, from hypothermia to overcrowding. So, buckle up, because we’re about to deep dive into everything you need to know about chick brooders, from setup to maintenance and everything in between.
When it comes to raising chicks, preparation is key. You can’t just toss them into any old container and expect miracles. A chick brooder is more than just a shelter—it’s a controlled environment that mimics the warmth and safety of a mother hen. And trust me, those little fluff balls need all the help they can get. They’re fragile, vulnerable, and completely dependent on you for survival.
Now, I know what you’re thinking: “Do I really need all this fancy equipment?” The short answer is yes. A well-designed chick brooder can mean the difference between healthy, thriving chicks and, well, a whole lot of heartache. But don’t worry, we’ll break it down step by step so you can set up a brooder that’s both effective and budget-friendly. Let’s get started!
Read also:Unveiling The Mysteries Of Metamorpho Superman Your Ultimate Guide
What Exactly is a Chick Brooder?
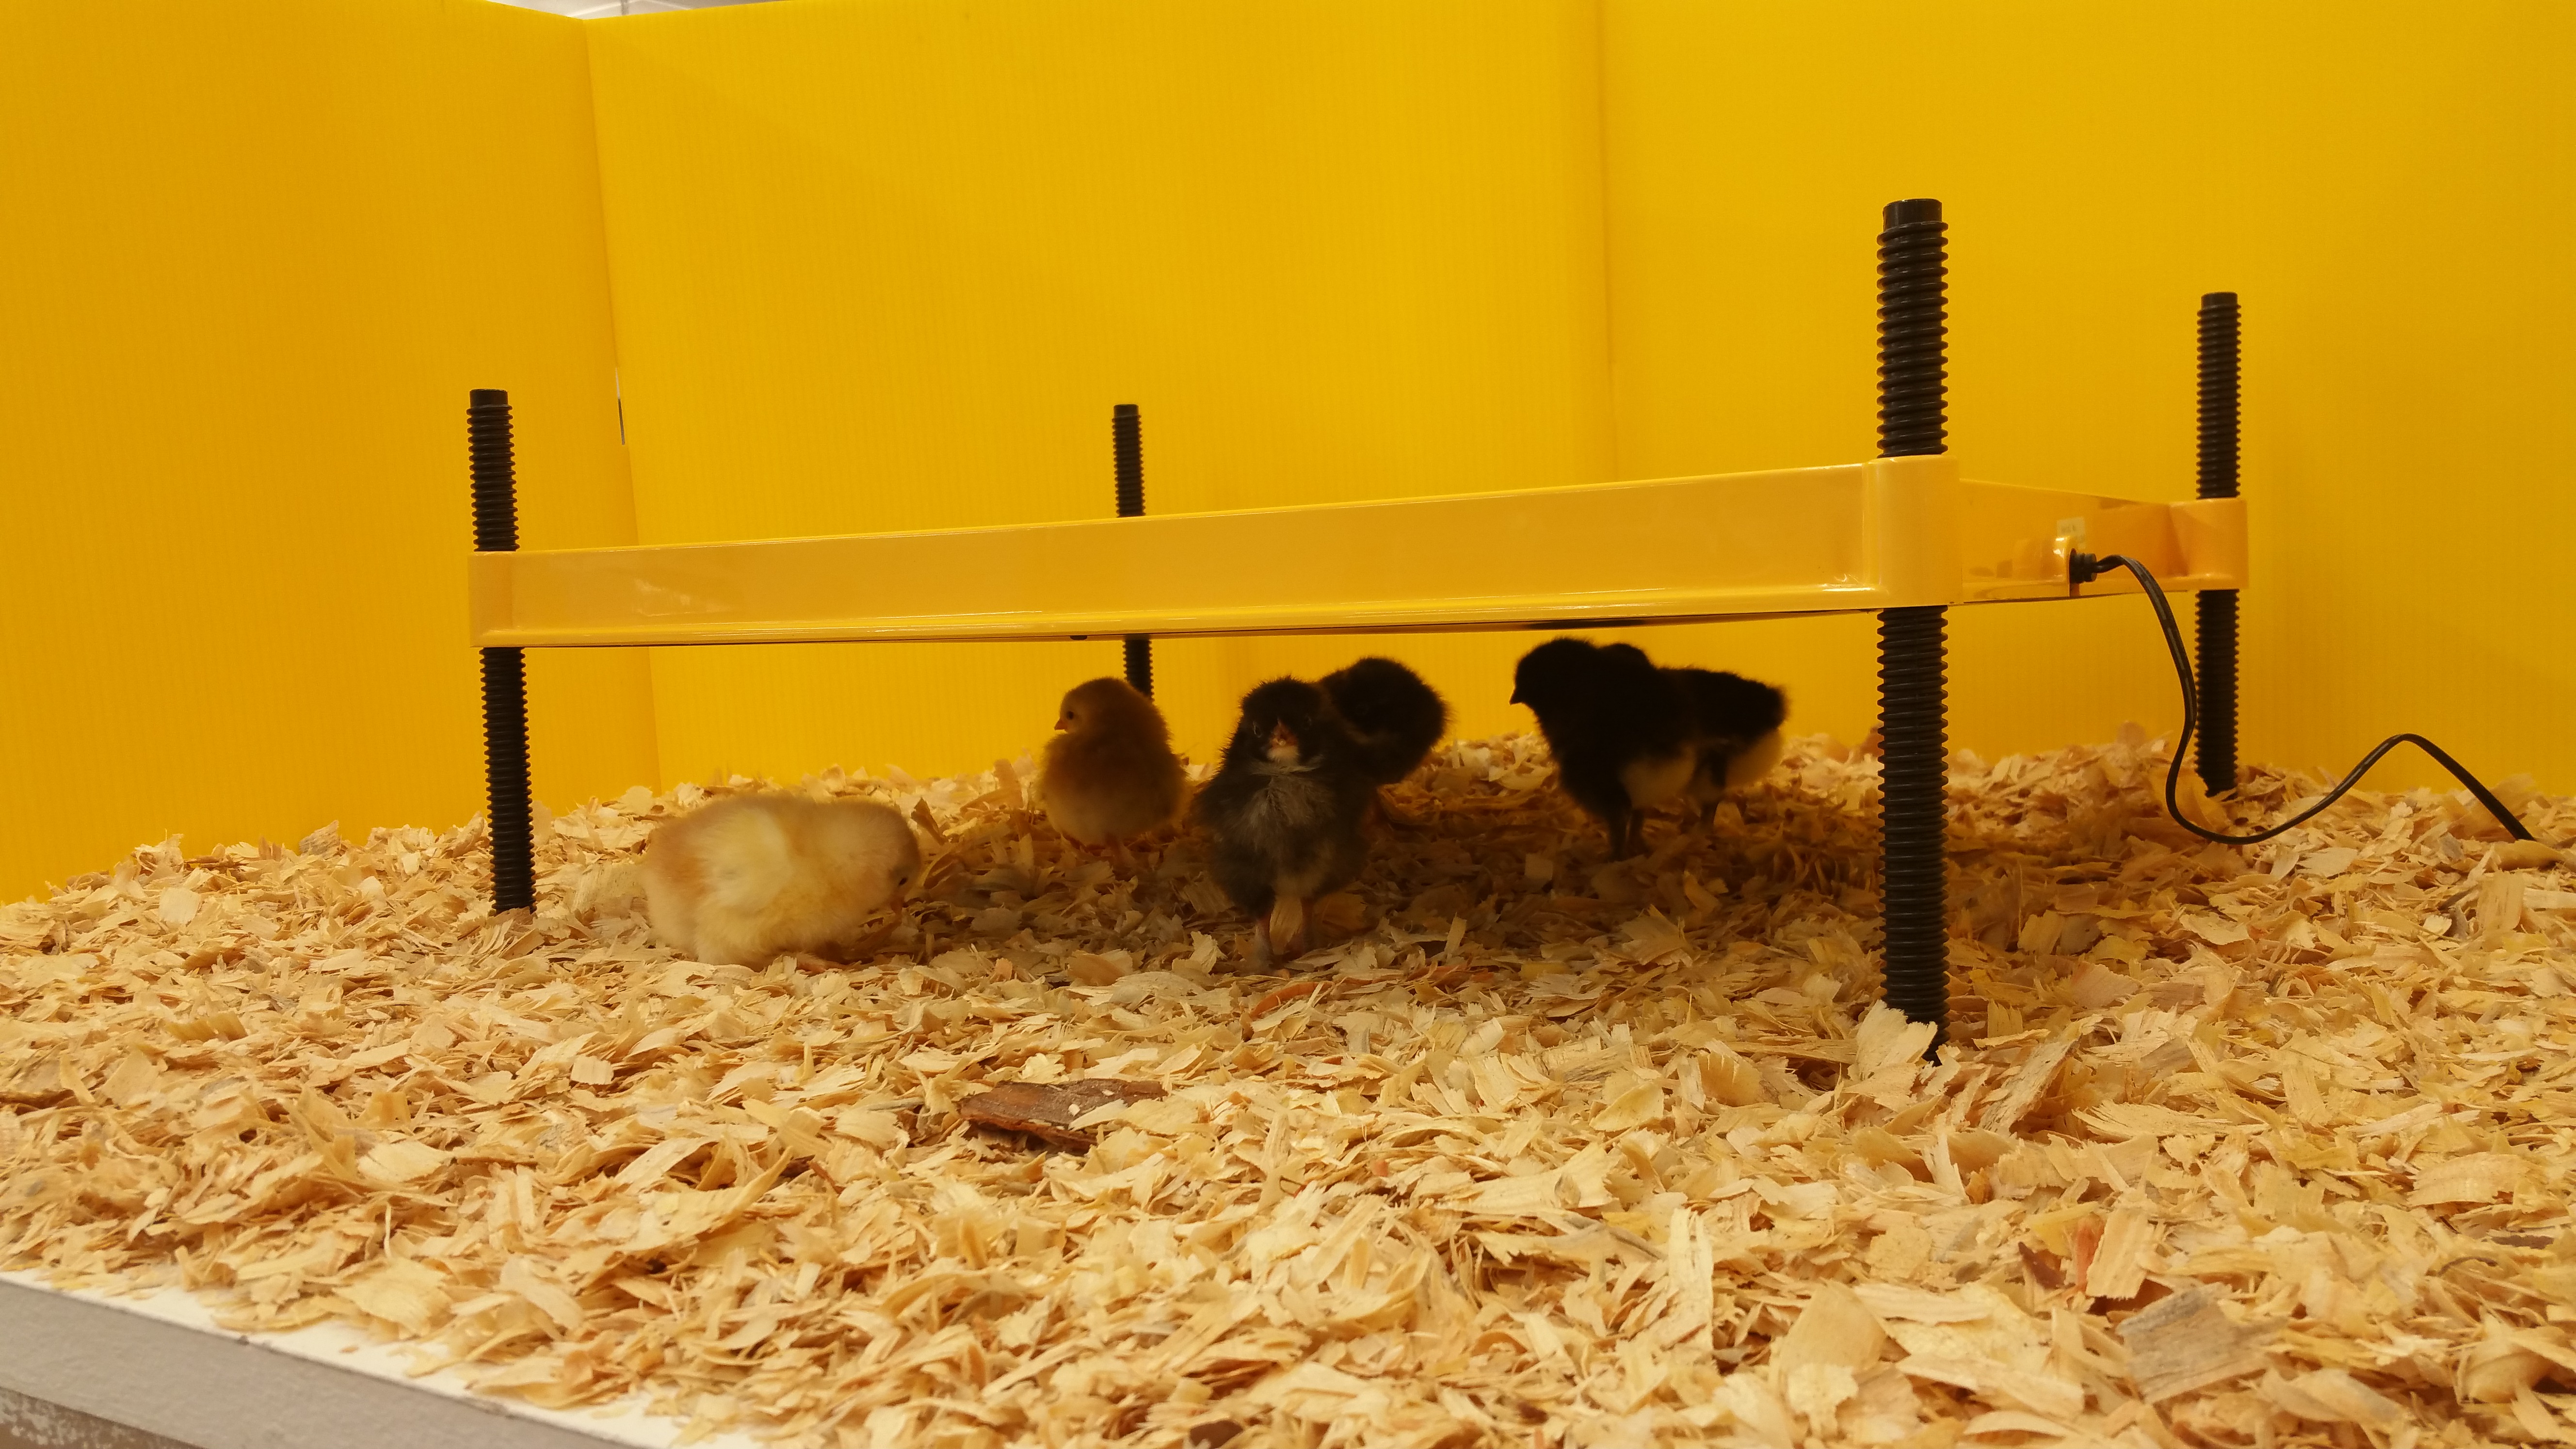
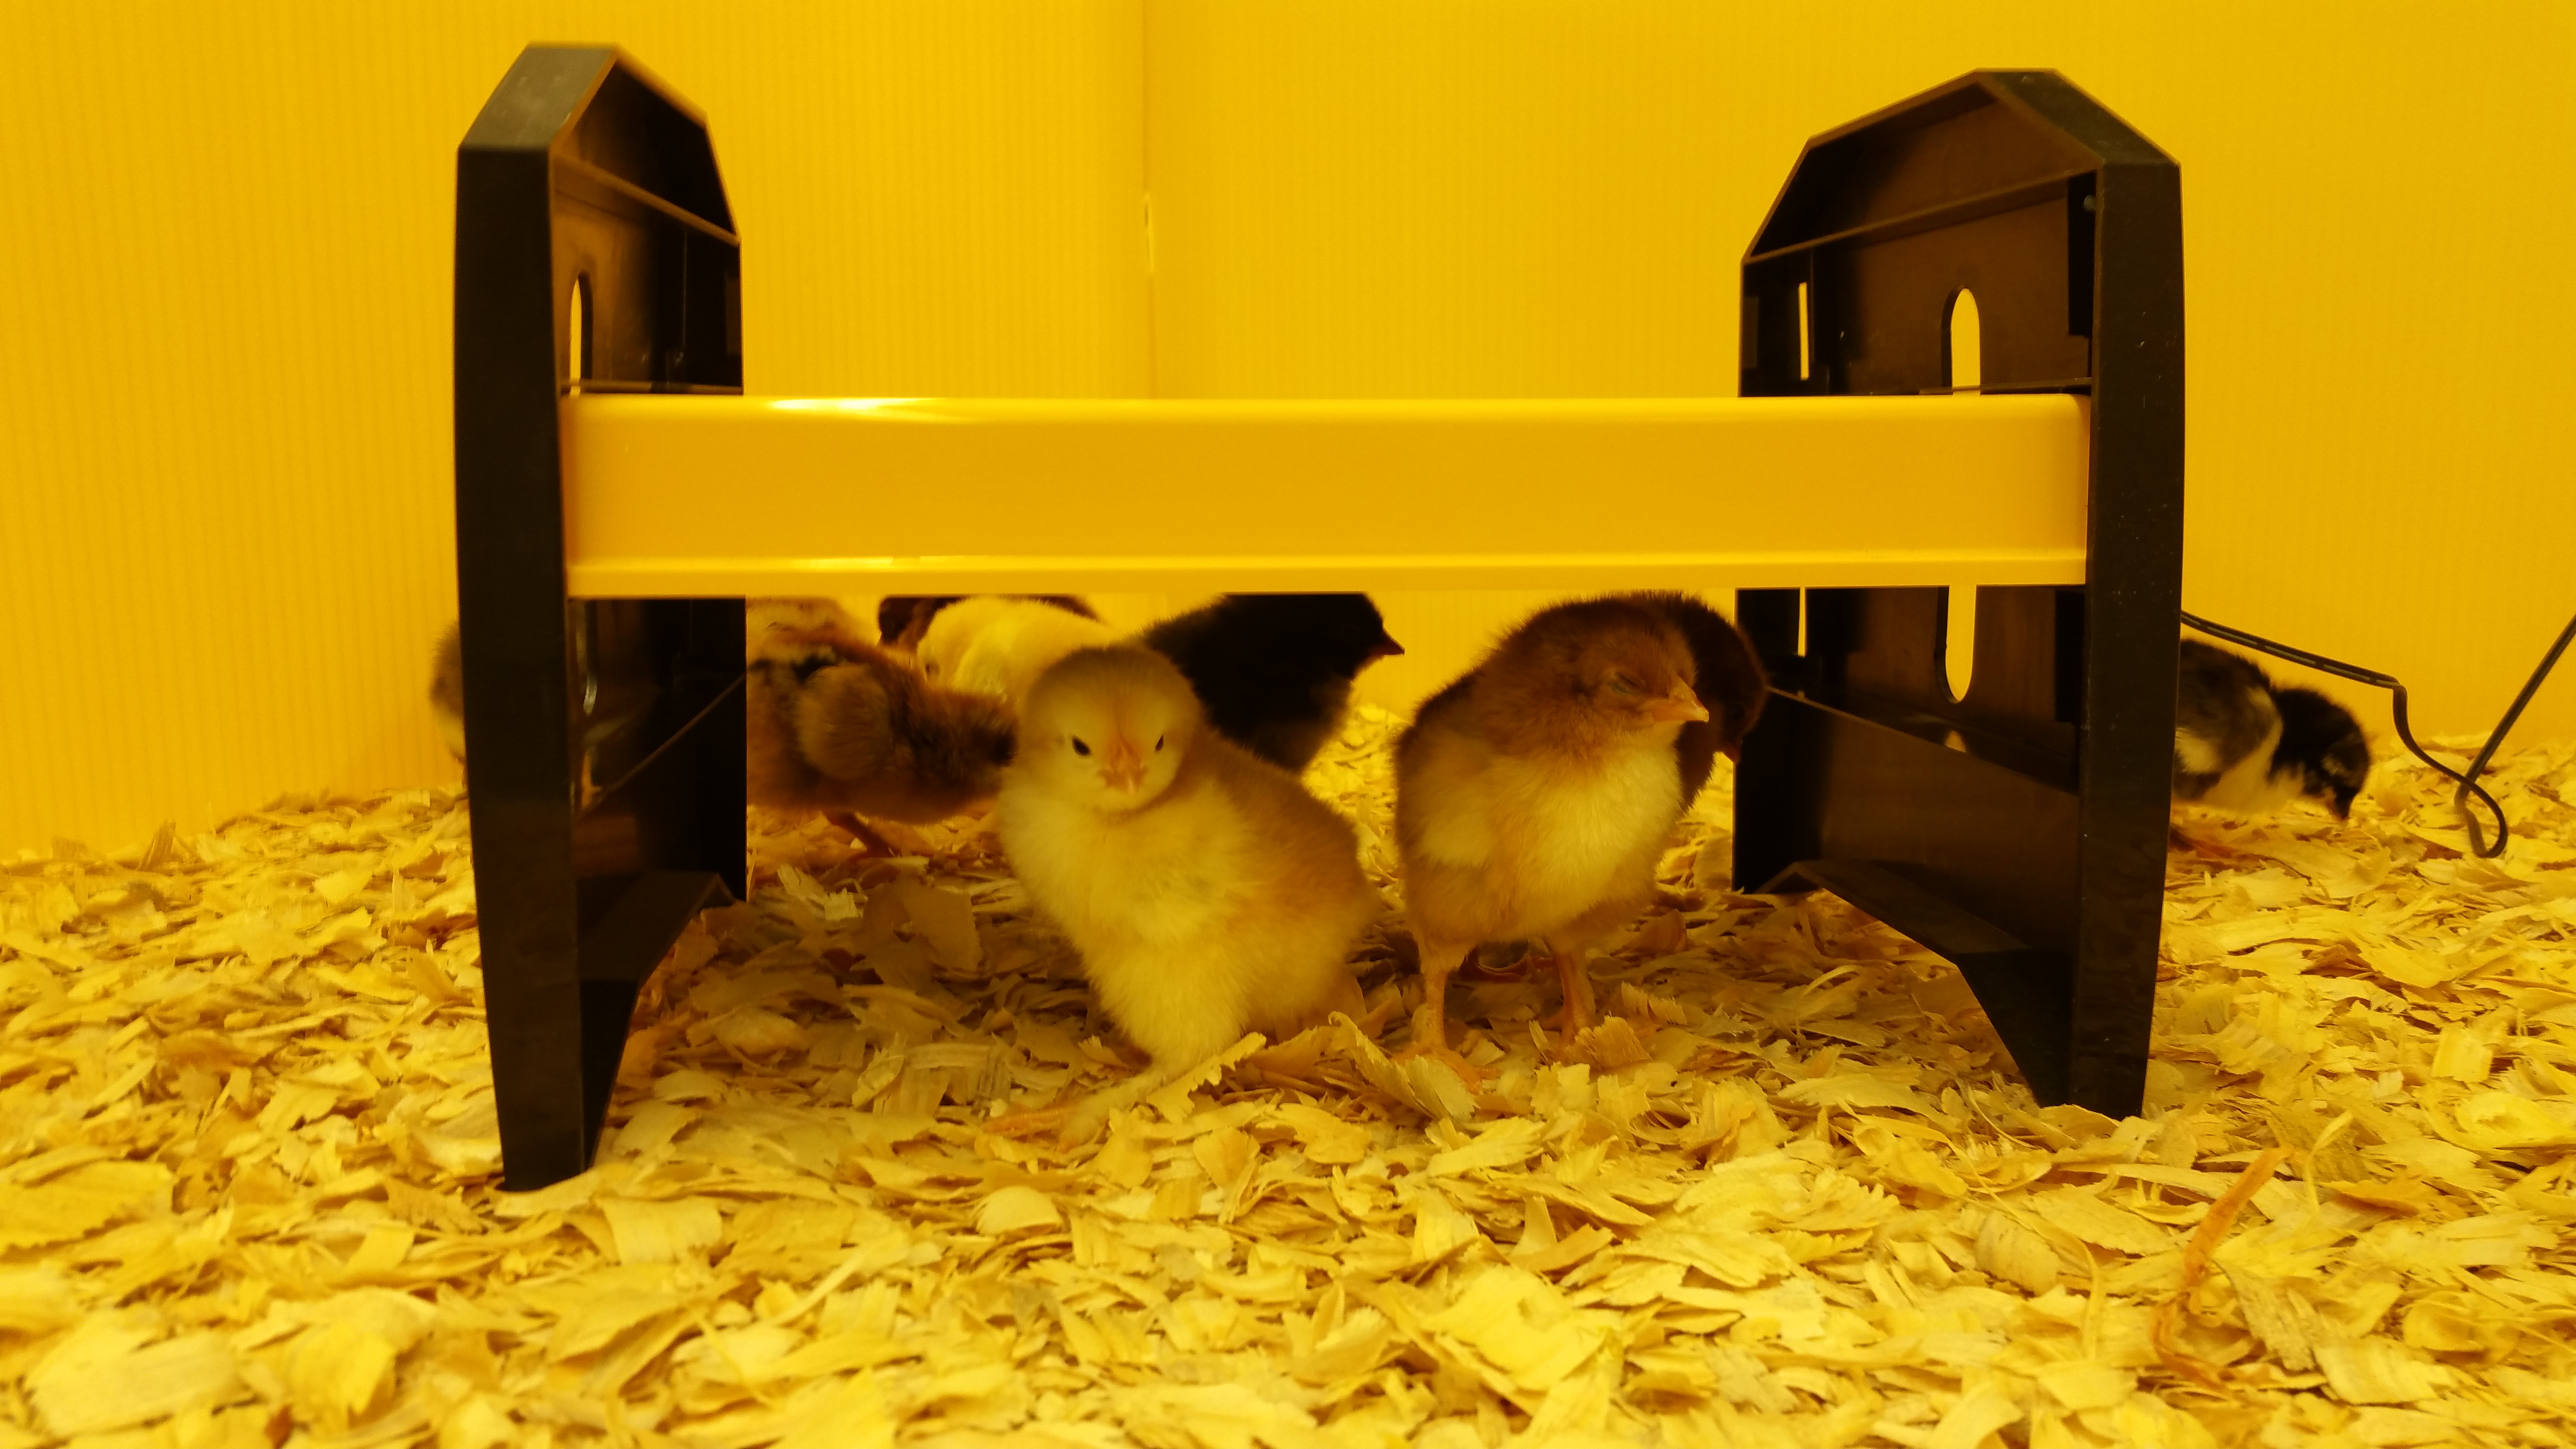
A chick brooder is basically a cozy, temperature-controlled space where baby chicks can grow and develop in a safe and nurturing environment. Think of it as a mini incubator that keeps them warm, protected, and happy. The brooder provides the warmth that baby chicks need during their first few weeks of life, especially since they can’t regulate their body temperature on their own.
There are different types of brooders out there, ranging from simple DIY setups to fancy commercial models. But no matter which one you choose, the goal is the same: to create a space where chicks can thrive. The key elements of a good brooder include heat, ventilation, bedding, and space. And let’s not forget about cleanliness—keeping the brooder clean is crucial for preventing disease and ensuring your chicks stay healthy.
Why is a Chick Brooder Important?
Here’s the deal: baby chicks are born without the ability to regulate their own body temperature. That means if they get too cold, they’re in serious trouble. A chick brooder provides the warmth they need to survive and grow. Without it, they could succumb to hypothermia or other health issues. Plus, a brooder keeps them safe from predators, drafts, and other potential dangers.
But it’s not just about temperature. A brooder also gives chicks the space they need to move around, eat, drink, and poop (a lot). And let’s be real, baby chicks are messy little creatures. A well-designed brooder makes it easier to manage all that mess and keep things clean and hygienic. Trust me, you don’t want to deal with a dirty brooder—it’s a recipe for disaster.
Choosing the Right Chick Brooder
Now that you know why a chick brooder is important, let’s talk about how to choose the right one. There are a few factors to consider when selecting a brooder, including size, material, and heating options. You can go with a pre-made brooder or build your own, depending on your budget and DIY skills.
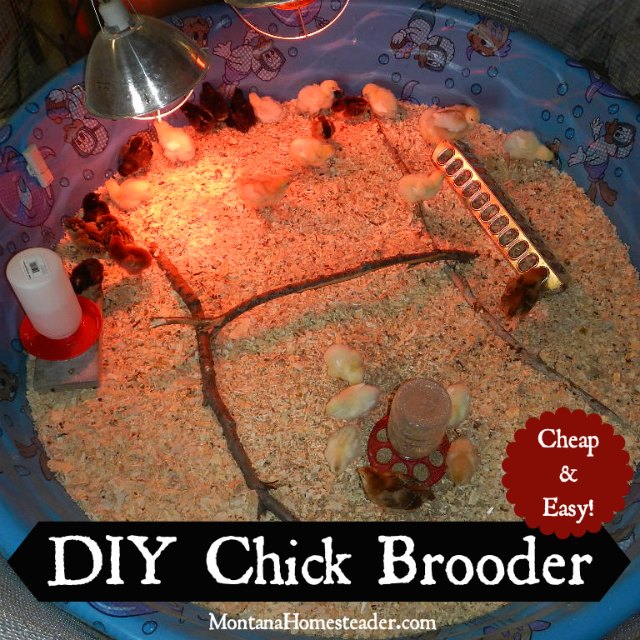
DIY Chick Brooder Options
Building your own chick brooder is a great way to save money and customize the setup to your specific needs. One popular option is to use a large plastic storage tub with a heat lamp. This setup is simple, affordable, and easy to clean. Another option is to use a cardboard box with a brooder plate, which is a safer alternative to a heat lamp. Just make sure the box is sturdy enough to hold the chicks and withstand their pecking.
Read also:Ennis Texas News Your Ultimate Guide To Stay Updated
Here’s a quick list of materials you’ll need for a DIY brooder:
- A large plastic tub or cardboard box
- A heat source (heat lamp, brooder plate, or heat bulb)
- Bedding material (pine shavings, paper towels, or newspapers)
- A waterer and feeder
Commercial Chick Brooders
If you’re not into DIY projects, there are plenty of commercial chick brooders available on the market. These brooders usually come with all the bells and whistles, including adjustable heat settings, ventilation systems, and easy-cleaning features. While they may cost more upfront, they can save you time and hassle in the long run.
Some popular commercial brooders include:
- The Brinsea EcoGlow Brooder
- The Omlet Eglu Chick Brooder
- The Little Giant Infrared Brooder
Setting Up Your Chick Brooder
Alright, you’ve got your brooder—now it’s time to set it up. Proper setup is crucial for ensuring your chicks are comfortable and healthy. Here’s a step-by-step guide to help you get started:
Step 1: Choose the Right Location
First things first, you need to decide where to place your brooder. Ideally, it should be in a draft-free area that’s easy to access. A garage, basement, or spare room works well. Just make sure the space is dry, clean, and free from predators.
Step 2: Add Bedding
Next, line the bottom of the brooder with bedding material. Pine shavings are a popular choice because they’re absorbent and provide good traction for the chicks’ tiny feet. Avoid using cedar shavings, as they can be toxic to birds. You can also use paper towels or newspapers for the first few days, but switch to pine shavings once the chicks get a little older.
Step 3: Set Up the Heat Source
Now it’s time to install the heat source. If you’re using a heat lamp, make sure it’s securely mounted and out of reach of the chicks. Adjust the height of the lamp so that the temperature inside the brooder is around 95°F (35°C) during the first week. After that, you can gradually lower the temperature by about 5°F (3°C) each week until the chicks are fully feathered.
Step 4: Add Water and Food
Finally, place a waterer and feeder inside the brooder. Make sure the waterer is chick-proof, meaning the chicks can’t fall in and drown. You can also add marbles or pebbles to the water dish to prevent accidents. As for food, start with chick starter feed, which is specially formulated for young chicks.
Maintaining Your Chick Brooder
Once your brooder is set up, it’s important to maintain it properly to ensure your chicks stay healthy and happy. Here are a few tips for keeping your brooder in top shape:
Keep It Clean
Chicks are messy little creatures, and their brooder can get dirty fast. Make it a habit to clean the bedding regularly, especially if it gets wet or soiled. Wet bedding can lead to health issues like respiratory infections and foot problems, so it’s important to keep it dry and clean.
Monitor the Temperature
Temperature is key when it comes to chick brooders. Too hot or too cold can cause problems, so make sure to monitor the temperature regularly. A good rule of thumb is to adjust the heat source based on the chicks’ behavior. If they’re huddling together under the heat lamp, they’re too cold. If they’re staying far away from the heat source, they’re too hot. Aim for a happy medium where the chicks are comfortable and evenly distributed.
Provide Enough Space
As your chicks grow, they’ll need more space to move around. Make sure to adjust the size of the brooder accordingly. A general guideline is to provide at least half a square foot of space per chick during the first week, increasing to one square foot per chick by the time they’re four weeks old.
Troubleshooting Common Brooder Issues
Even with the best setup, things can go wrong. Here are some common brooder issues and how to fix them:
Overcrowding
Overcrowding can lead to stress, bullying, and even cannibalism among chicks. If you notice your chicks picking on each other or showing signs of stress, it’s time to expand the brooder or separate them into smaller groups.
Temperature Problems
As I mentioned earlier, temperature is crucial for chick health. If your chicks are too cold, they may huddle together and appear lethargic. If they’re too hot, they’ll pant and stay far away from the heat source. Adjust the heat source as needed to maintain a comfortable temperature.
Illness and Disease
Despite your best efforts, chicks can still get sick. Common chick illnesses include pasty butt, coccidiosis, and respiratory infections. If you notice any signs of illness, such as lethargy, difficulty breathing, or abnormal droppings, consult a vet immediately. Prevention is key, so make sure to keep the brooder clean and provide proper nutrition.
Chick Brooder Myths and Misconceptions
There’s a lot of misinformation out there about chick brooders, so let’s clear up some common myths:
Myth 1: Chicks Don’t Need a Heat Source
This is simply not true. Baby chicks need a heat source to survive, especially during their first few weeks of life. Without it, they’re at risk of hypothermia and other health issues.
Myth 2: Any Container Will Do
While it’s true that you can use a variety of containers for a brooder, not all containers are created equal. Make sure your brooder is sturdy, draft-free, and easy to clean. A flimsy cardboard box may work for a few days, but it won’t hold up in the long run.
Myth 3: You Don’t Need to Clean the Brooder
Wrong! A dirty brooder can lead to all kinds of health issues, from respiratory infections to foot problems. Make it a priority to clean the bedding and waterer regularly to keep your chicks healthy and happy.
Conclusion
And there you have it—everything you need to know about chick brooders. From setup to maintenance, a well-designed brooder is essential for raising healthy, happy chicks. Remember, preparation is key, and paying attention to details like temperature, ventilation, and cleanliness can make all the difference.
So, what are you waiting for? Get out there and start building your brooder. And don’t forget to share your experiences with us in the comments below. Whether you’re a seasoned pro or a first-time chick raiser, we’d love to hear your thoughts and tips. Happy brooding!
Table of Contents
- Chick Brooder: Your Ultimate Guide to Raising Healthy Baby Chicks
- What Exactly is a Chick Brooder?
- Why is a Chick Brooder Important?
- Choosing the Right Chick Brooder
- DIY Chick Brooder Options
- Commercial Chick Brooders
- Setting Up Your Chick Brooder
- Maintaining Your Chick Brooder
- Troubleshooting Common Brooder Issues
- Chick Brooder Myths and Misconceptions
- Conclusion